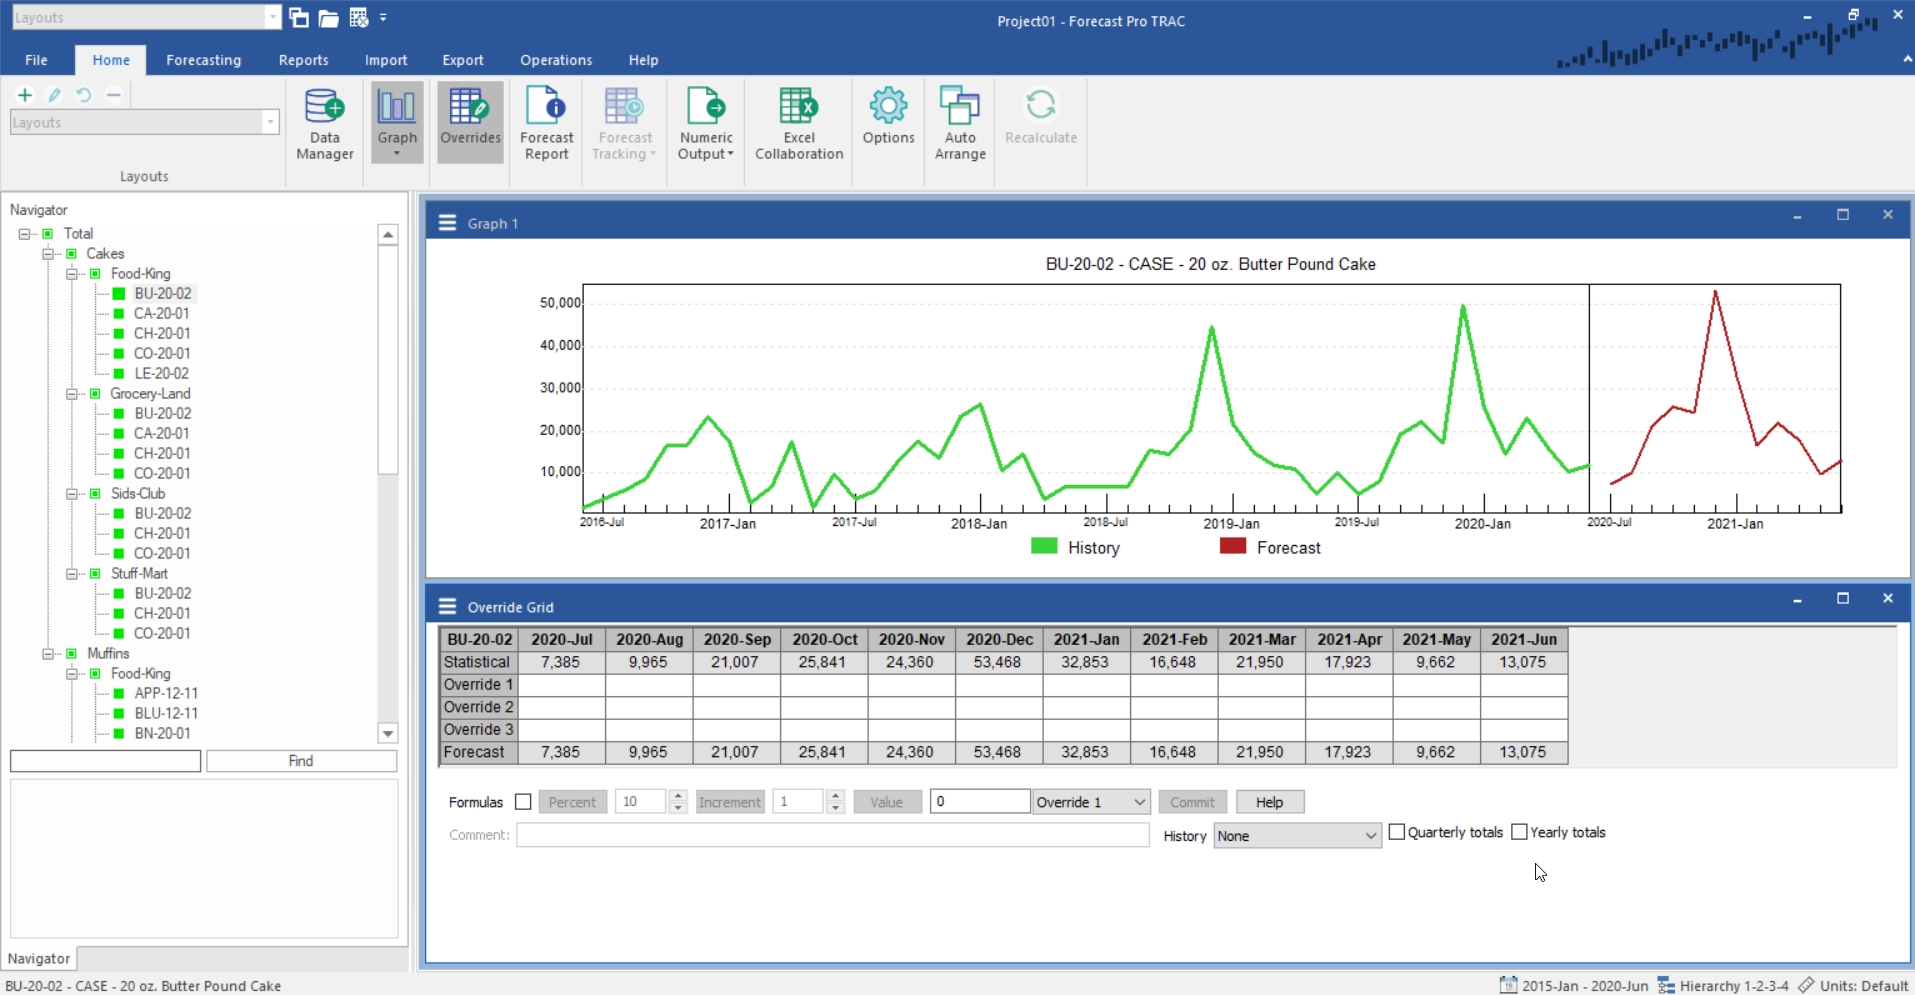


Right click on the Navigator to invoke the Navigator’s context menu. Select Expand All to fully expand the Navigator. Select Total>Cakes>Food-King>Bu-20-02 on the Navigator. Your display should now look like the one below.

The default Override view display contains a row for the statistical forecast, three override rows and a row for the current forecast. Forecast Pro allows you to include up to 10 override rows. Dedicating different override rows to different types of adjustments and labeling them appropriately is an excellent practice.
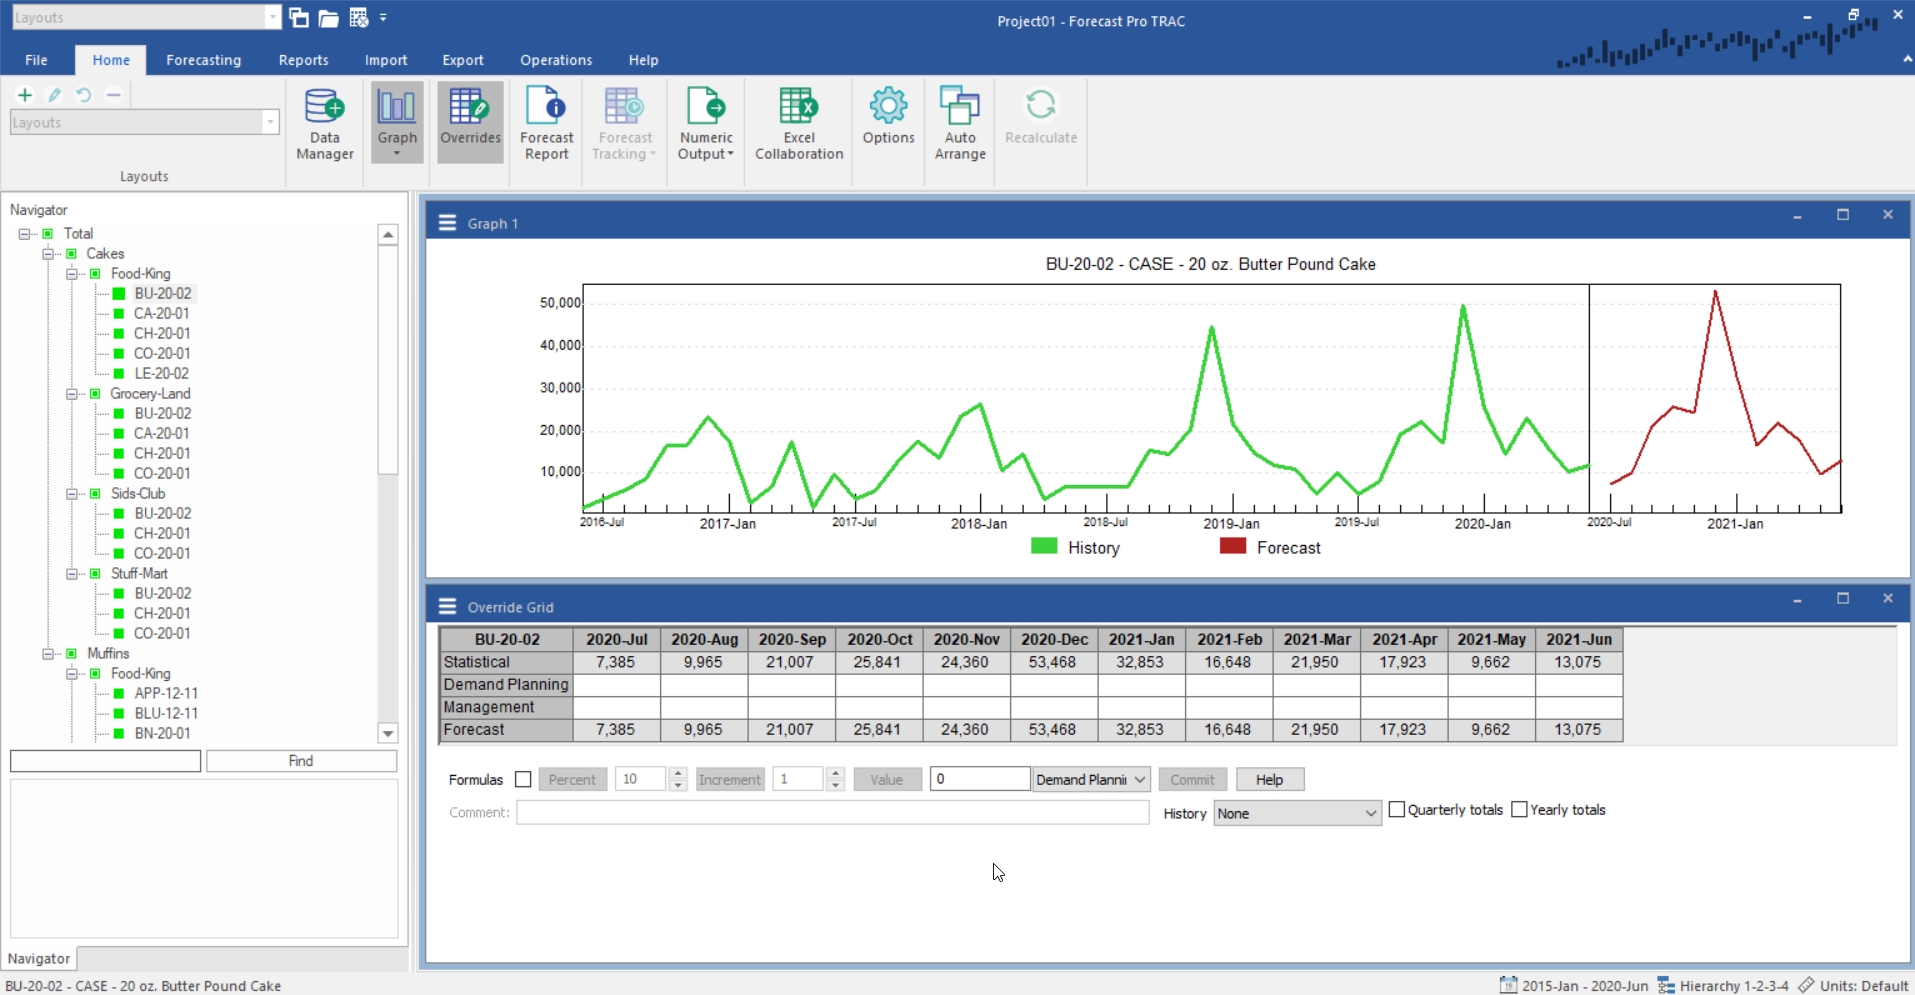
Right click the row labeled Override 1 to invoke the context menu. Notice that this menu allows you to add or remove override rows, edit the row labels, set the precision of the numbers displayed and control whether a thousands separator should be used. Select Edit Row Label and rename Override 1 “Demand Planning.” Right click the row labeled Override 2 and use Edit Row Label to rename it “Management.” Right click the row labeled Override 3 and use Remove Row to remove it from the display. Your screen should now look like the one below.

All rows currently being displayed are part of the override section of the grid. The first row (currently labeled “Statistical”) displays the baseline forecast. This is followed by the override rows and finally the Forecast row. There is a logical order for these rows to appear in and they always share a consistent unit of measure.
You can add additional rows underneath the override section of the grid to display conversions, external data, calculations etc.
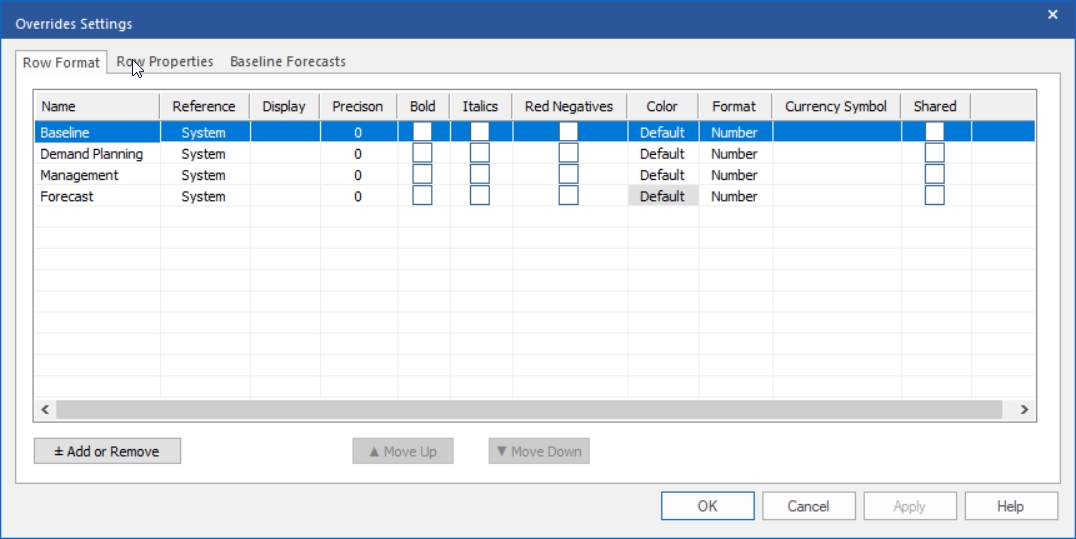
Right click on the grid to invoke the context menu and select Settings.

The Row Format tab of the Overrides Settings dialog box allows you to control how rows are displayed.
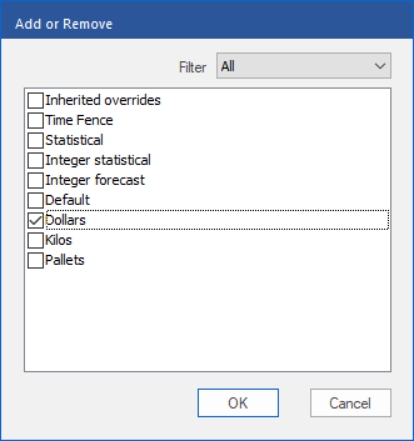
Click on the Add or Remove Button to invoke the Add or Remove dialog box. The Add or Remove dialog box is used to select the optional rows that you wish to work with in the Row Format tab.

Select Dollars and click OK to return to the Overrides Settings dialog box. Notice that there is now a Dollars row displayed on the Row Format tab. Make sure that the Display box for the Dollars row is checked, set the Dollars row Format to Currency and click OK. Notice that our Override Grid display now includes a Dollars conversion row.