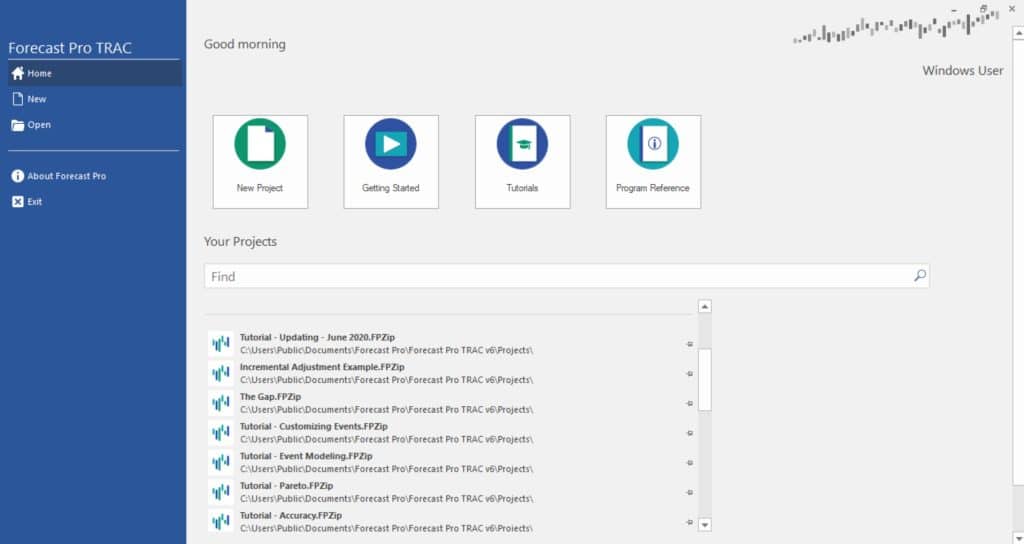
To start Forecast Pro double-click the Forecast Pro icon on your desktop or select it on the Windows Start menu. After the program is loaded, you will see a startup page like the one below.

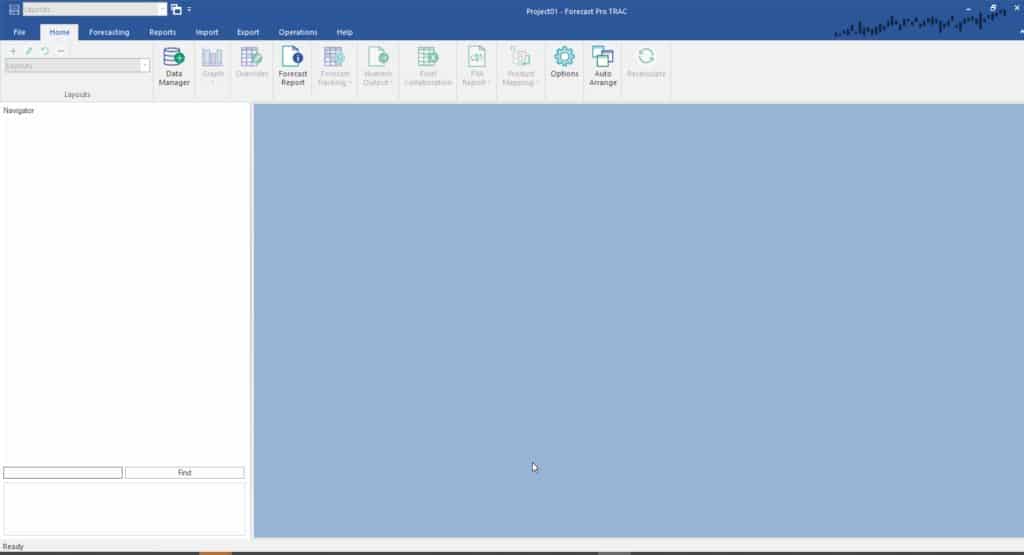
Click on “New Project” to start a new project and open the Forecast Pro main window.

To set the default options, click the Options icon to open the Options dialog box.

There are eight pages of options on the dialog box accessible via the tabs.
- Basic: contains the more commonly changed options. This tab is shown above.
- Formats: allows you to control the settings for the data file interface and the precision in the on-screen displays. The data file interface defaults have been carefully chosen and should only need to be changed by users using comma-delimited data files, by users who do not follow the US conventions for the decimal separator, or by users who need to adjust the way in which zeros or blanks are handled by the program.
- Outliers: allows you to control the settings for outlier detection and correction. This will be covered in Detecting and Correcting Outliers.
- Overrides: allows you to customize the override facility. This will be covered in Customizing the Forecast Override View.
- Command Line: allows you to control the settings for command-line operation. This will be covered in Operating from the Command Line.
- Pareto Analysis: allows you to dictate how to calculate the ABC classifications. This will be covered in Pareto Analysis.
- Performance: allows you to exclude several forecasting methods from consideration in expert selection mode, use manual recalculation mode to control he timing of when the forecasts are reconciled and set policies for the loading and retention of archived forecasts. All of these settings can be used to improve Forecast Pro performance when working with very large projects.
- Advanced: allows you to specify how integer forecasts should be rounded, how dates should be displayed and how often Forecast Pro checks for product updates.
Let’s take a closer look at the Basic options. Forecast Pro reads in the historical data from the Input Data directory. Project files are saved to the Projects directory. Forecast files and reports are written to the Output directory. You can also set the percentiles for the confidence limits, the lead time for safety stock calculations, the length of the forecasts (forecast horizon), and you can indicate if Forecast Pro should allow negative forecasts.
The data for this lesson were copied into your Forecast Pro input folder when you installed the program (typically Forecast Pro\Forecast Pro TRAC v8\Input in your Public Documents folder). Make sure that the Input Data directory is set correctly and that the other options match those shown above. Click the OK button to accept the defaults and return to the main menu.
If you are using a Collaborator license: the next section (Defining the Data) describes operations that are not supported. The first step in a Collaborator session is to open a project that was created by someone using a Forecaster license. Click the File tab and select Open from the left bar. Open Tutorial – Basics from the default projects folder (normally Forecast Pro\Forecast Pro TRAC v8\Projects in your Public Documents folder). Skip the next section and proceed to Viewing the Forecasts.

