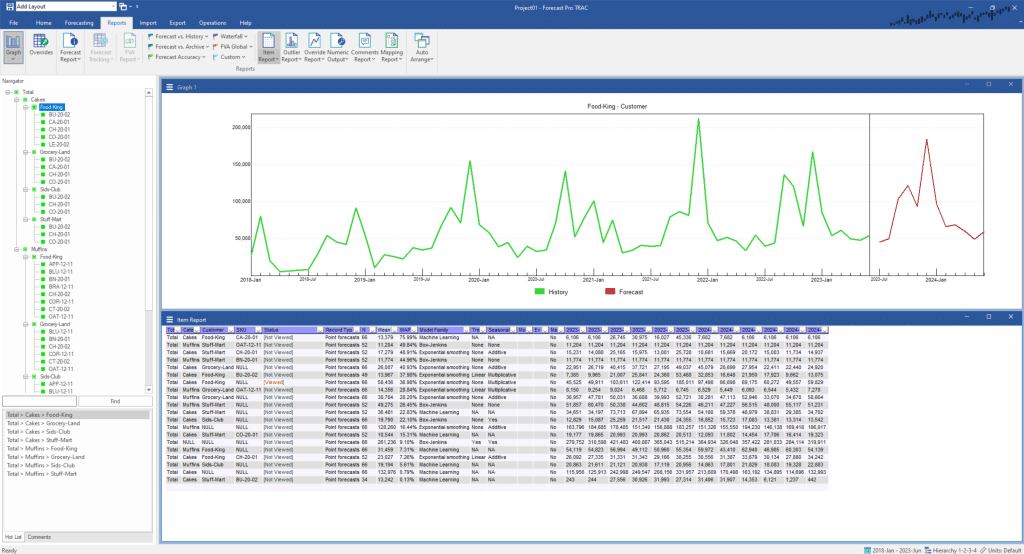
Click on the Item Report’s hamburger menu and select Settings. Select Status on the Layouts tab and click OK. Your display should now match the one below.

You will notice that this Status column indicates [Viewed] for any selection you have clicked on in the Navigator. Double click on the top row in the report, and you will see that the status changes from [Not Viewed] to [Viewed].
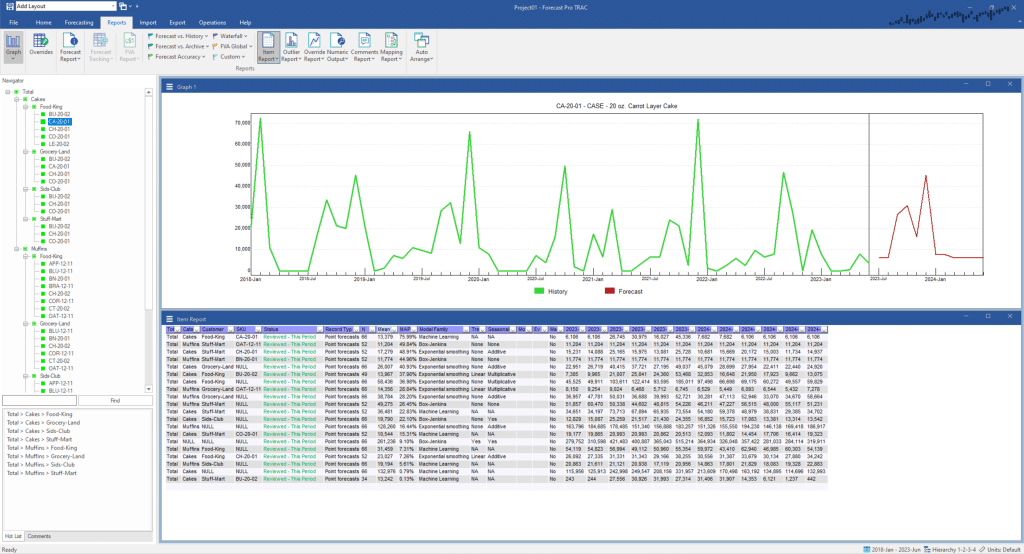
Forecast Pro will automatically keep track of your navigation. If you click on the cell in the top row labeled [Viewed], you will notice that there is a drop-down. Use this drop-down and you will see some other options for status that must be applied manually, including In Progress, Reviewed – This Period, and Reviewed – Permanent. Click on Reviewed – This Period and you will see that this item now has that status applied.
If you want to apply that same status to indicate you have reviewed everything currently displayed in the report, right click on the cell labeled Reviewed – This Period and choose Apply Status To > Current Display. Your display should now match the one below.

The [Viewed] and [Not Viewed] statuses cannot be renamed or removed, but all other statuses can be fully customized. You can also create additional statuses. For more information on how to define the status settings, see The Status Tab of the Options.

