Forecast Pro provides two different ways to output your forecasts. Each is described below.
The Numeric Output file is used to save the forecasts and other information in a concise format. If you plan to import the forecasts into a database or a planning system, this is the file you should use. You have a great deal of control over the content and format of this file and can save it in text, spreadsheet, ODBC or XML formats.
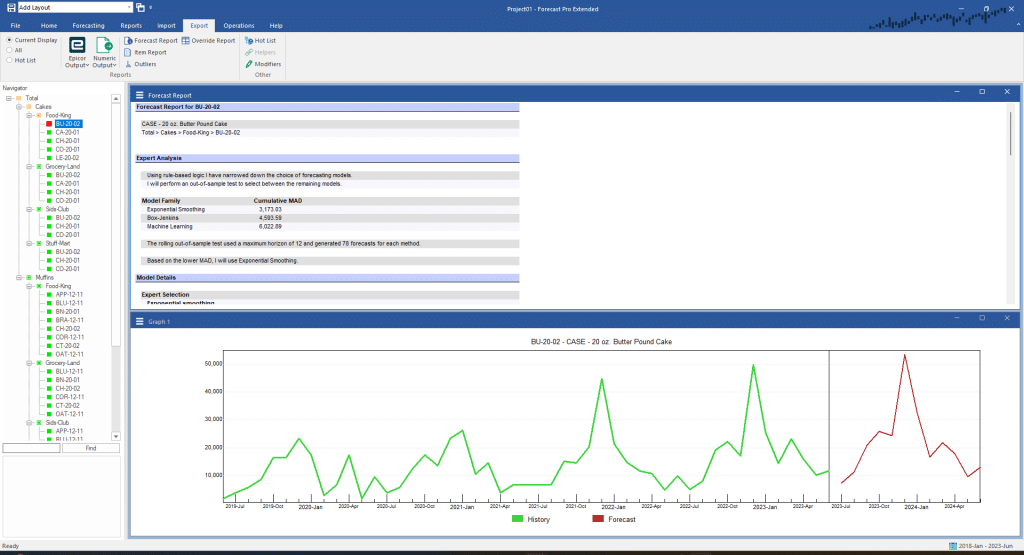
The Forecast Report is an Excel file containing a separate worksheet for each item included in the exported report. Each report worksheet will contain the Graph view and the Forecast Report view for that item.
Arrange your display so that it includes both the Graph view and the Forecast Report view and select the Export tab on the ribbon menu.

Select “All” on the left-hand side of the Reports group to indicate that you want to export forecast reports for all items and click on the Forecast Report icon. A dialog box will appear allowing you to name the Excel file. Name the file Forecast Report and save it.
Examine Forecast Report.xlsx in Excel and verify that it contains a worksheet for each item in the Navigator and that the contents and format matches the currently displayed Graph and Forecast Report views.
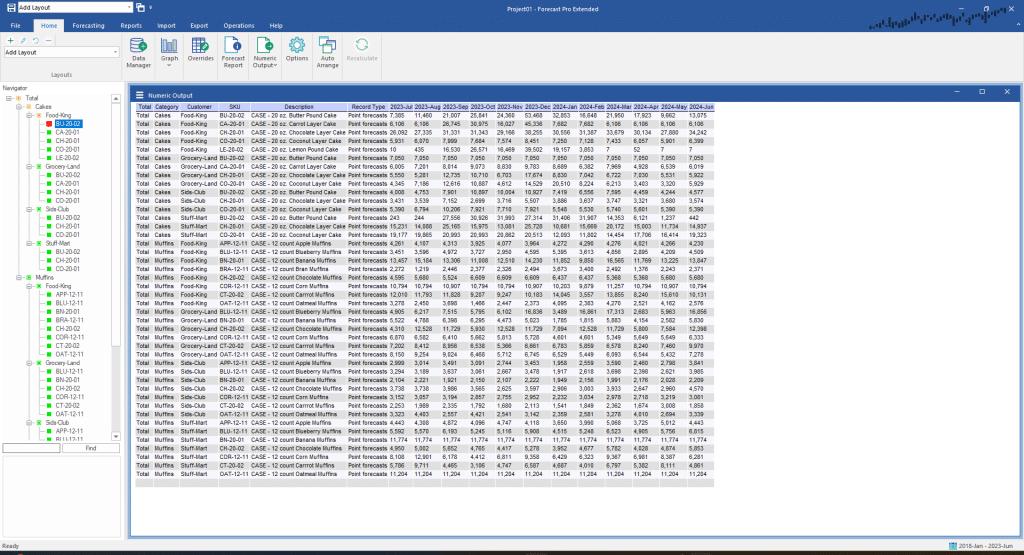
Return to the Home tab. Close the Graph window and the Forecast Report window. Click the drop-down menu on the Numeric Output icon and select “Show” to preview the report. Click Auto Arrange to display as shown below.

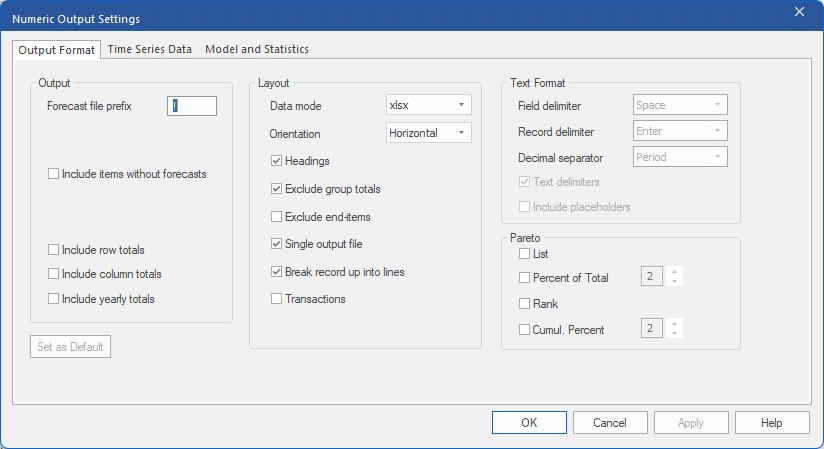
The Numeric Output Preview window displays the contents and format of the currently specified Numeric Output file. Click on the hamburger icon on the top left of the Numeric Output Preview window and select Settings.

This dialog box allows you to configure the Numeric Output. Output Format allows you to specify whether you wish the output to use the currently displayed units and hierarchy or always output the default units and hierarchy. It also allows you to specify the file type and control the layout. Time Series Data and Model and Statistics options allow you to specify the contents.
Explore the options on this dialog box. If you are unsure of the function of any selection click the Help button for a description.
The settings you select will be used for your current project. If you click the Set as Default button on the displayed tab, the current settings will also be saved as the default to use for all new projects. Exit the dialog box.
Click the Numeric Output icon to save. A dialog box will appear allowing you to name the file. Name the file Test Numeric Output and save it. Examine the file and verify that its contents and format match those specified in the Numeric Output Settings dialog box.

