

Start the program and click the New Project icon. Open the Data Manager, specify New Product- Historic Data.xlsx on the Historic Data Row, click the Read & Forecast button and then click Exit to exit the Data Manager. Close the Override view and open the Forecast Report view by clicking the Forecast Report icon on the Home tab. Select Product-0 in the Navigator. Your screen should now look like the one shown below.
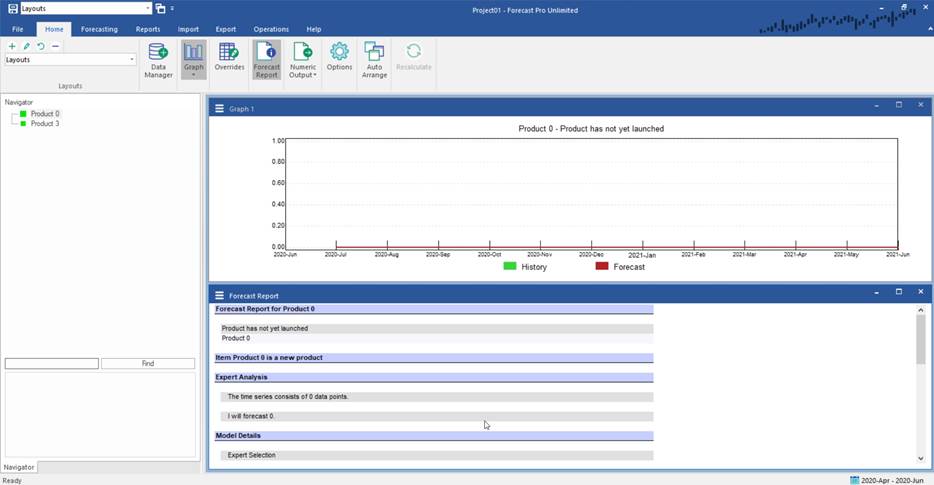
Notice that Product-0 has no demand history. By default, Forecast Pro will generate a forecast of zero for a time series with no history. Notice also the confidence limits are set equal to the forecasts.
If you don’t want the forecast to equal zero, one option is to use the override facility to enter the desired forecast in the form of an override.
Another option is to use the fixed forecast value model. This model allows you to set the statistical forecast to a specific value. Select the Forecasting tab and click the Fixed Value icon in the Other group to invoke the Forecast Very Simple Models dialog box shown below.
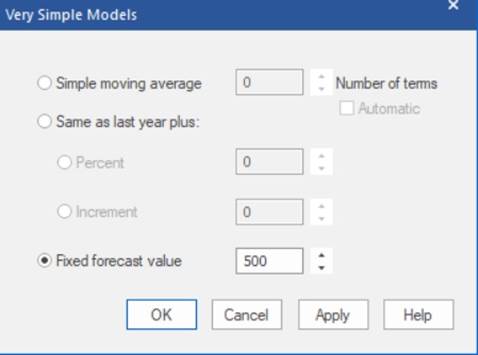
A dialog box will appear allowing you to specify the value. Set the value to 500 and click OK. Examine the Graph and Forecast Report views to verify that the forecast is now set to 500.
A related modeling option to Fixed Forecast Value is Fixed Value After. This option is used when you wish to set the statistical forecast to a specific value after a specific point in time. This can be useful when you are discontinuing a product and wish to set the forecast to zero during the forecast horizon or for a new product that won’t come on-line until part way through the forecast horizon.
For our example, let’s suppose that Product-0 will not come on-line until October 2020. We’d therefore like the forecast to be zero until September 2020 and 500 units per month thereafter.
To accomplish this, we must first remove the Fixed Forecast Value setting. Click on the Custom Modifier icon in the Other group, delete the modifier by erasing the text and click OK.
Open the drop-down for Fixed Value and select Forecast Value After to open the dialog box below.
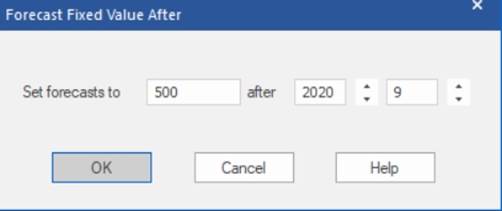
Enter 500 as the Set forecasts to value and set the after date to September 2020. Click OK and verify the forecast is now zero until September 2020 and 500 thereafter.
Exit Forecast Pro.