

The next step is to define the historic demand data you wish to forecast and any other inputs you would like to use.
In this example we will prepare sales forecasts for 123 Bakery. The data consist of monthly sales of Cakes and Muffins.
Click the Data Manager icon to call up the Data Manager shown below.
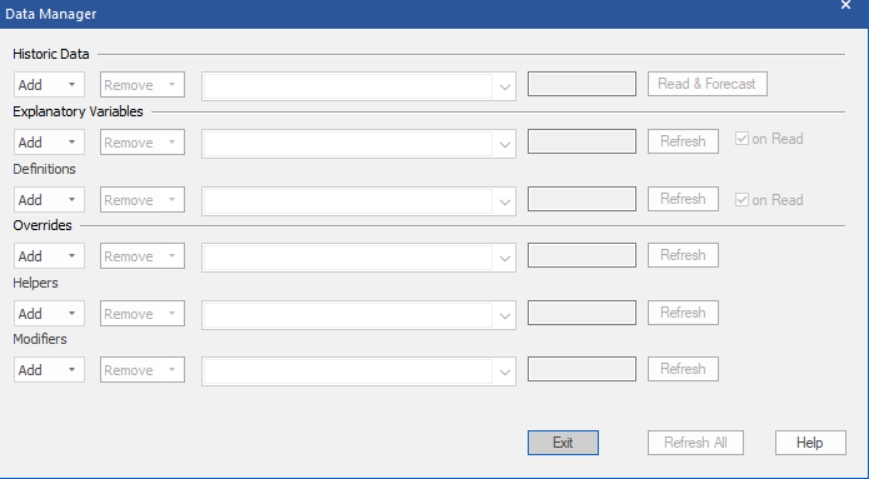
The Historic Data row on the Data Manager is used to specify the demand histories for the items you wish to forecast. The remaining rows are used to define other (optional) inputs. We will be exploring these options in future lessons. For all rows, the Add drop-down is used to specify the file(s) or ODBC table(s) containing the relevant inputs.
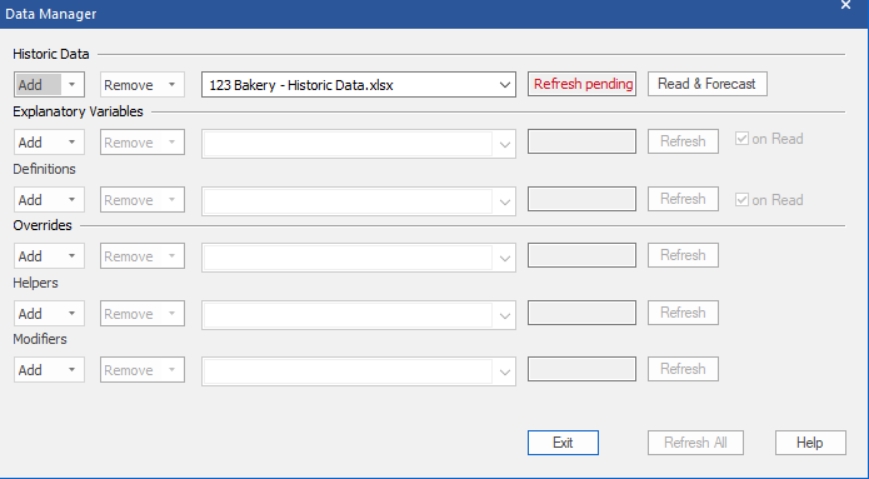
Click the Add drop-down on the Historic Data row, select Excel and select 123 Bakery – Historic Data.xlsx to add it to the Historic Data row.
When you list a data file in the Historic Data row, the program will forecast every series in the data file.
The five remaining rows on the Data Manager are used to import explanatory variables, definitions, override values, helper variables and forecast modifiers into your current project. We will be exploring these options in future lessons.
Notice that the Historic Data row includes a button labeled Read & Forecast. As you probably guessed, clicking the button will read in the data and generate the forecasts.
With the exception of the Historic Data row, all of the rows have a Refresh button and the Explanatory Variables and Definitions rows have an “on Read” checkbox. After the historic data has been read in and forecasted, the Refresh button can be used to load the specified, optional data files. If the “on Read” checkbox is selected for a definitions file, that file will be automatically read in when you hit the Read and Forecast button. The on Read option is useful when the associated data will be changing each forecast period.
 .
.
Click the Read & Forecast button to read in the data and generate the forecasts. Click the Exit button to exit the Data Manager.